
Junk on the Bunk: Building a viper hood and cape, by Badlands Fieldcraft
As students in the Scout Course learn, a ghillie shouldn’t be much more than a hood to break up the human outline followed by natural vegetation from your operating environment. This post originally appeared at Badlands Rifleman. -NCS
Whether hunting or hiding, camouflage and concealment are two basic elements of good fieldcraft. Camouflage is using colors and patterns to blend in, while concealment is appearing to be something that you’re not. The more you can blend in with your environment and not appear to be a person, the better off you will be. This can be just as true for someone in an urban setting as in a rural setting, but today I’m going to be talking about the viper hood and ghillie cape I recently built for myself in my rural AO.
Snipers have traditionally constructed and used ghillie suits, going back to the First World War and earlier. I think any time a method has lasted over a century it is worthy of our attention. Of course there’s many different methods to constructing a ghillie, and all of them are correct as long as they achieve the desired effect, which is obscuring the wearer’s silhouette and helping him disappear into his environment.

I chose to forego building a full suit in favor of something more streamlined and lighter. I felt the hood would still help me to break up the most obvious portion of my silhouette, the head and shoulders. I decided to add the cape to help conceal my pack and since it is also removable I could use it when constructing a hide or to camouflage my rifle.
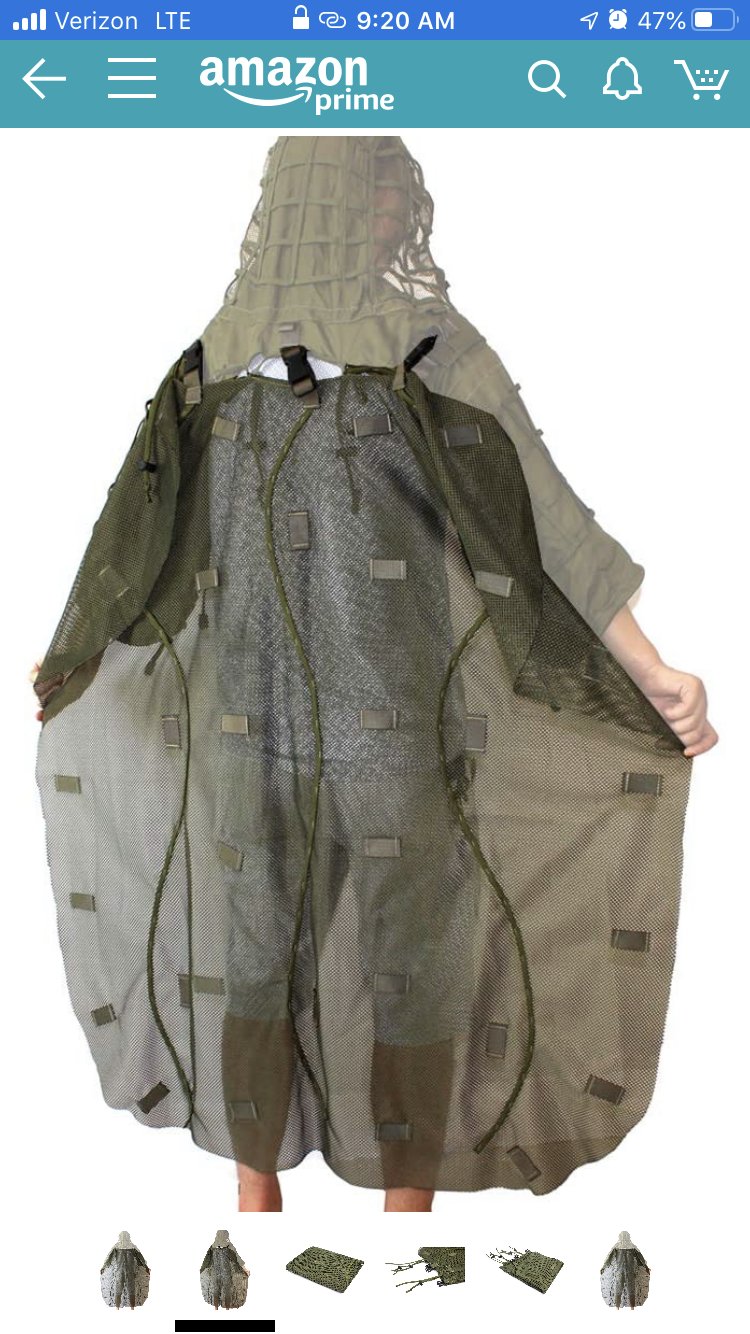
I chose the Rocotactical hood in multicam. I went this route mainly to save time over building one out of an old set of BDU’s, and it was a cheaper alternative to some of the more professional ones. It’s constructed of a durable rip stop fabric with 1/4” webbing sewn in a grid over the main portions of the hood for the attachment of camouflage materials.

The cape is also from Rocotactical, and I chose to go with the OD green version. This has one inch buckles at the top to connect to the hood on the back. I would have liked to see them use a different color than black, but some Krylon fixed that. It also has the same 1/4” webbings sewn in a crisscross down the back.
Ghillie suits are typically built using jute thread, either torn from a burlap sack or off a spool. I’ve tried this in the past and it’s very time consuming, so I chose to go with pre-dyed and cut thread from Arcturus. They have a good selection of colors as well as some premixed combinations. I chose to go with the “dry grass” mixture and it was a great choice for my area.

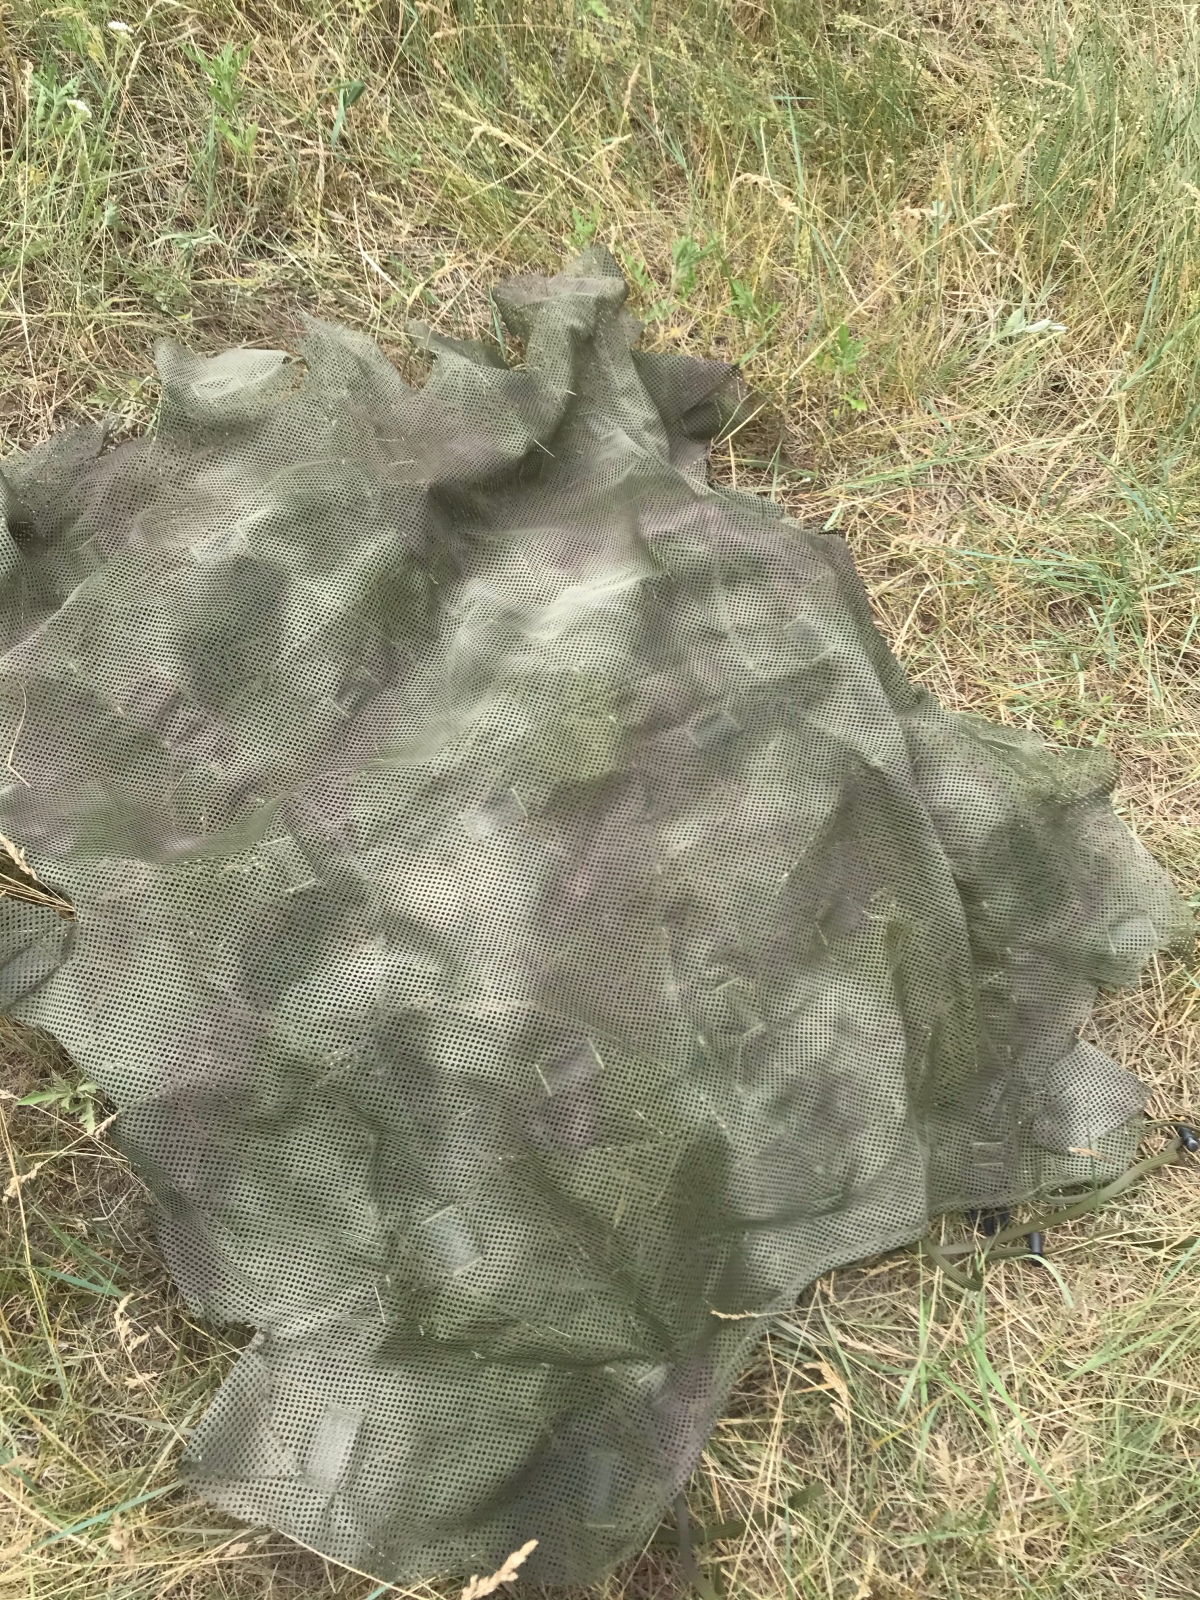
Upon receiving the hood and cape I noticed they were very “bright”. Although the colors were a good match to the environment, they reflected too much light, always appearing brighter than their surroundings. I immediately went to my camouflage spray paint collection and started muting down some of the brightness by applying very thin coats of OD green, tan and brown in a random pattern. For the cape I used heavier coats. I wanted to break up the pattern since it was solid green. I also cut zig zag slits 6-8” around the edge of the cape to give it less of a solid outline.

Next I started applying my ghillie thread. Many times I see ghillie’s that just look like a giant bush. I wanted something minimal, that broke up my silhouette but didn’t make me look like a bush either. My goal was to break up my outline without increasing it. So for the thread, less very well is more. I started by using just a handful of threads, no more than a dozen, and girth hitching them to areas on the shoulders and head of the hood. I also added a few sections of fish net that I girth hitched as well.
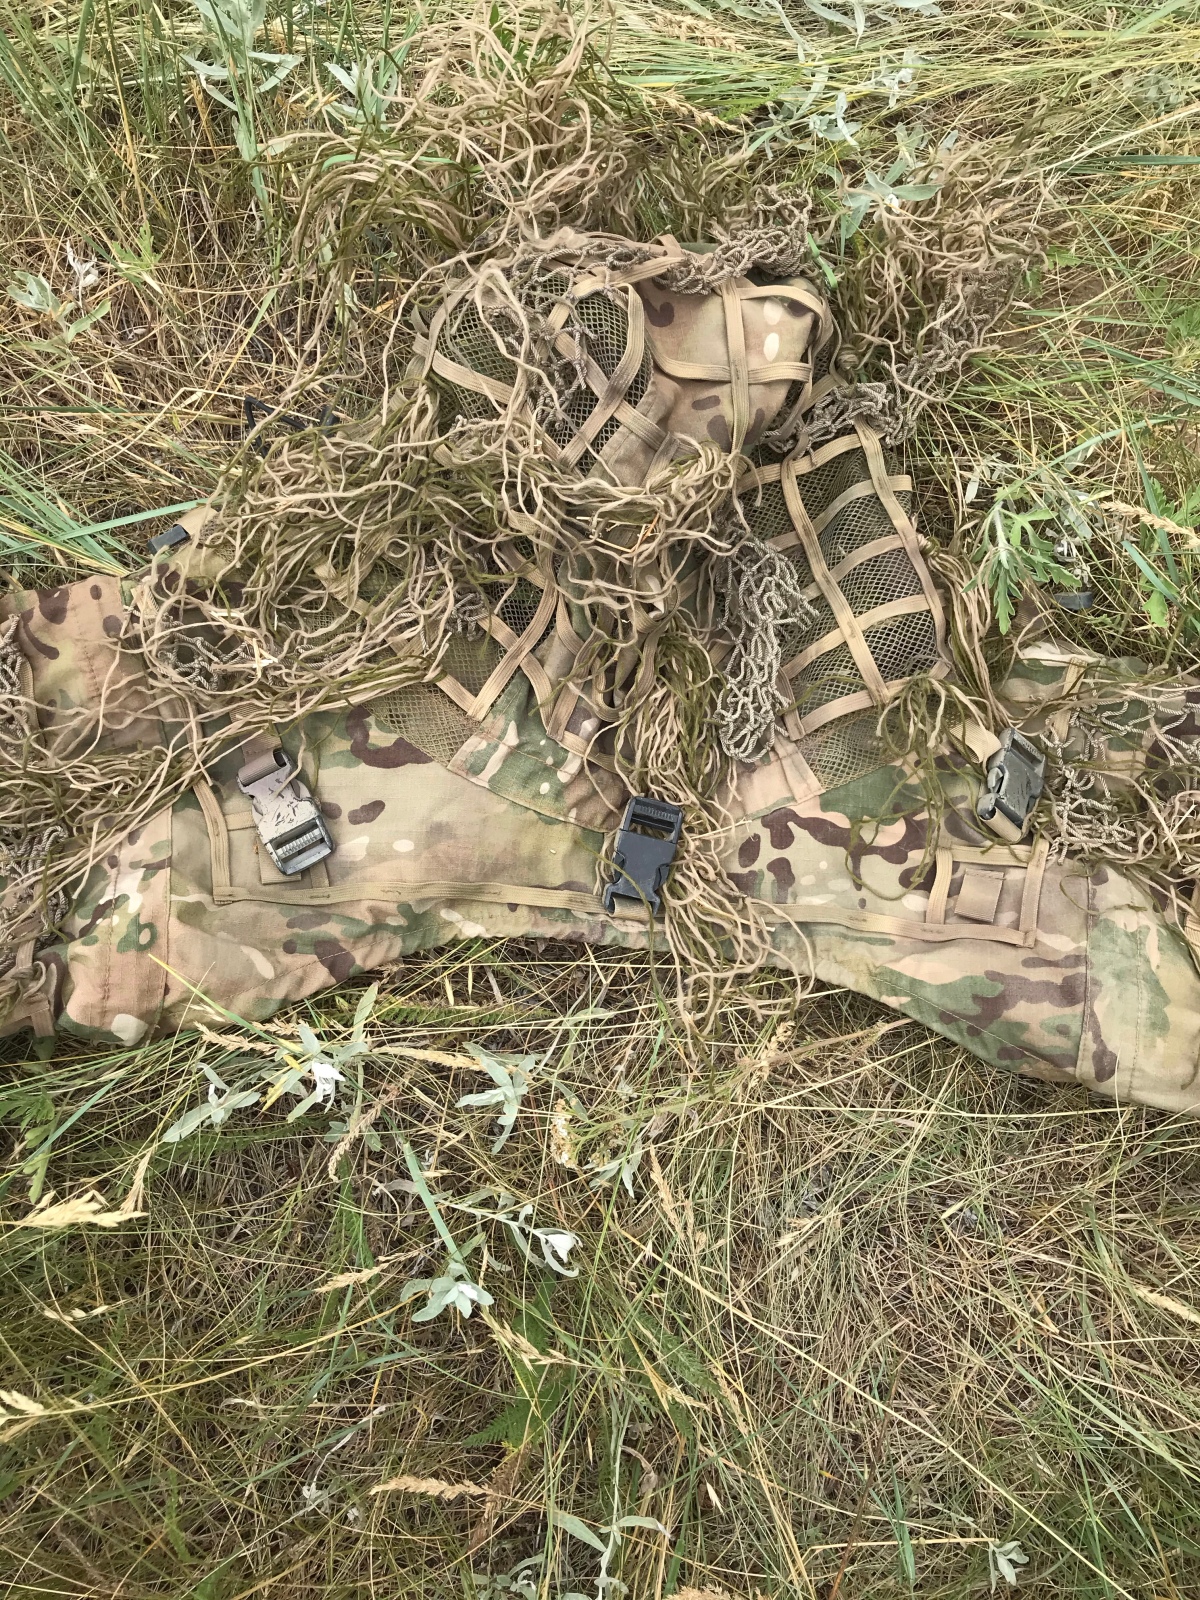
One thing to be cautious of is setting patterns, and building this ghillie was no different. Although I was placing the thread randomly, I wasn’t varying its length. The thread comes in a precut bundle, with all the ends lining up nicely from the cut. I noticed this after a attaching a couple bundles, so I just mixed up the package really well and started to grab random piles from it. This worked much better.

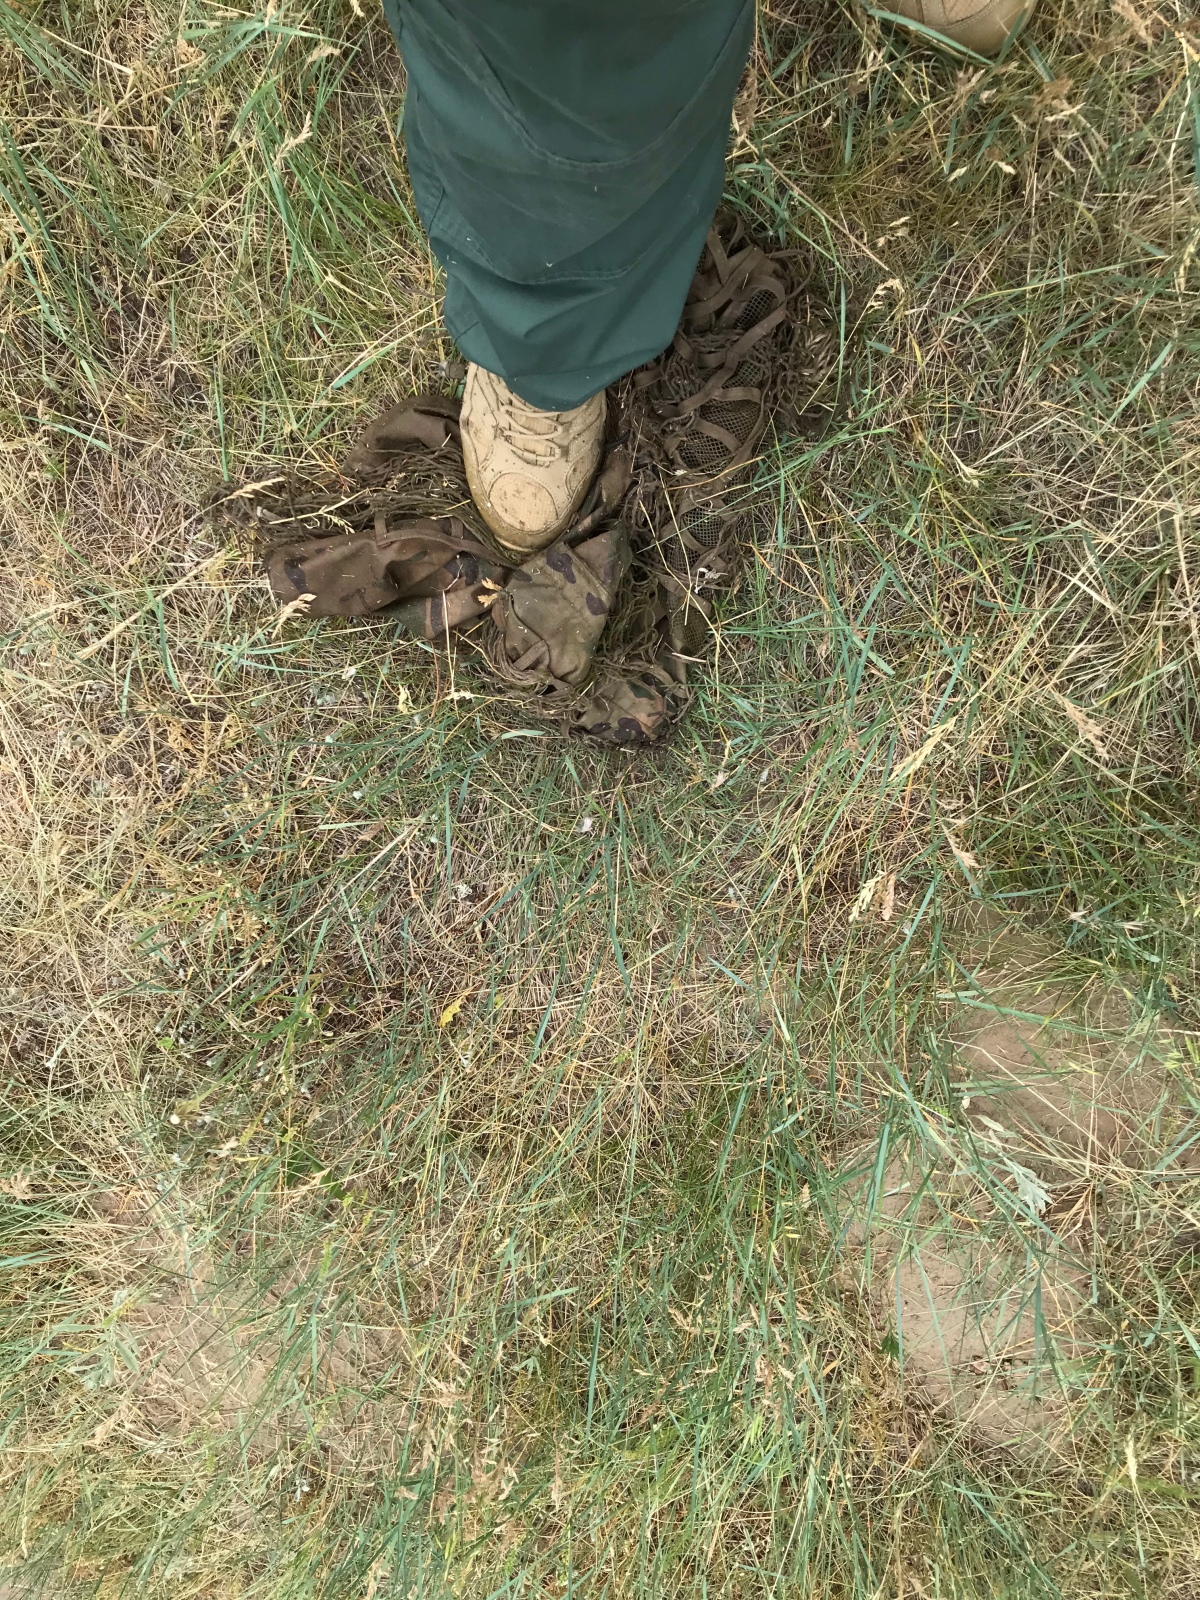
Once I had applied the thread to the hood and cape, it was time to “season” it. I think of this like seasoning a cast iron pan, except instead of grease we are using the environment. I proceeded to take the items and drag them around through the grass and weeds, letting the strings pull and tug and get torn and full of debris. I then dug a hole large enough to fit the items in, and buried them. Then I applied enough water to make a think slurry, and smashed the mud into the items.


I then took the items and drug them around some more, as well as stomping them and dragging them like a towel on the floor. The intent of this wasn’t to be destructive, but to impregnate the natural colors of the environment and remove any shine or pattern left over from construction.
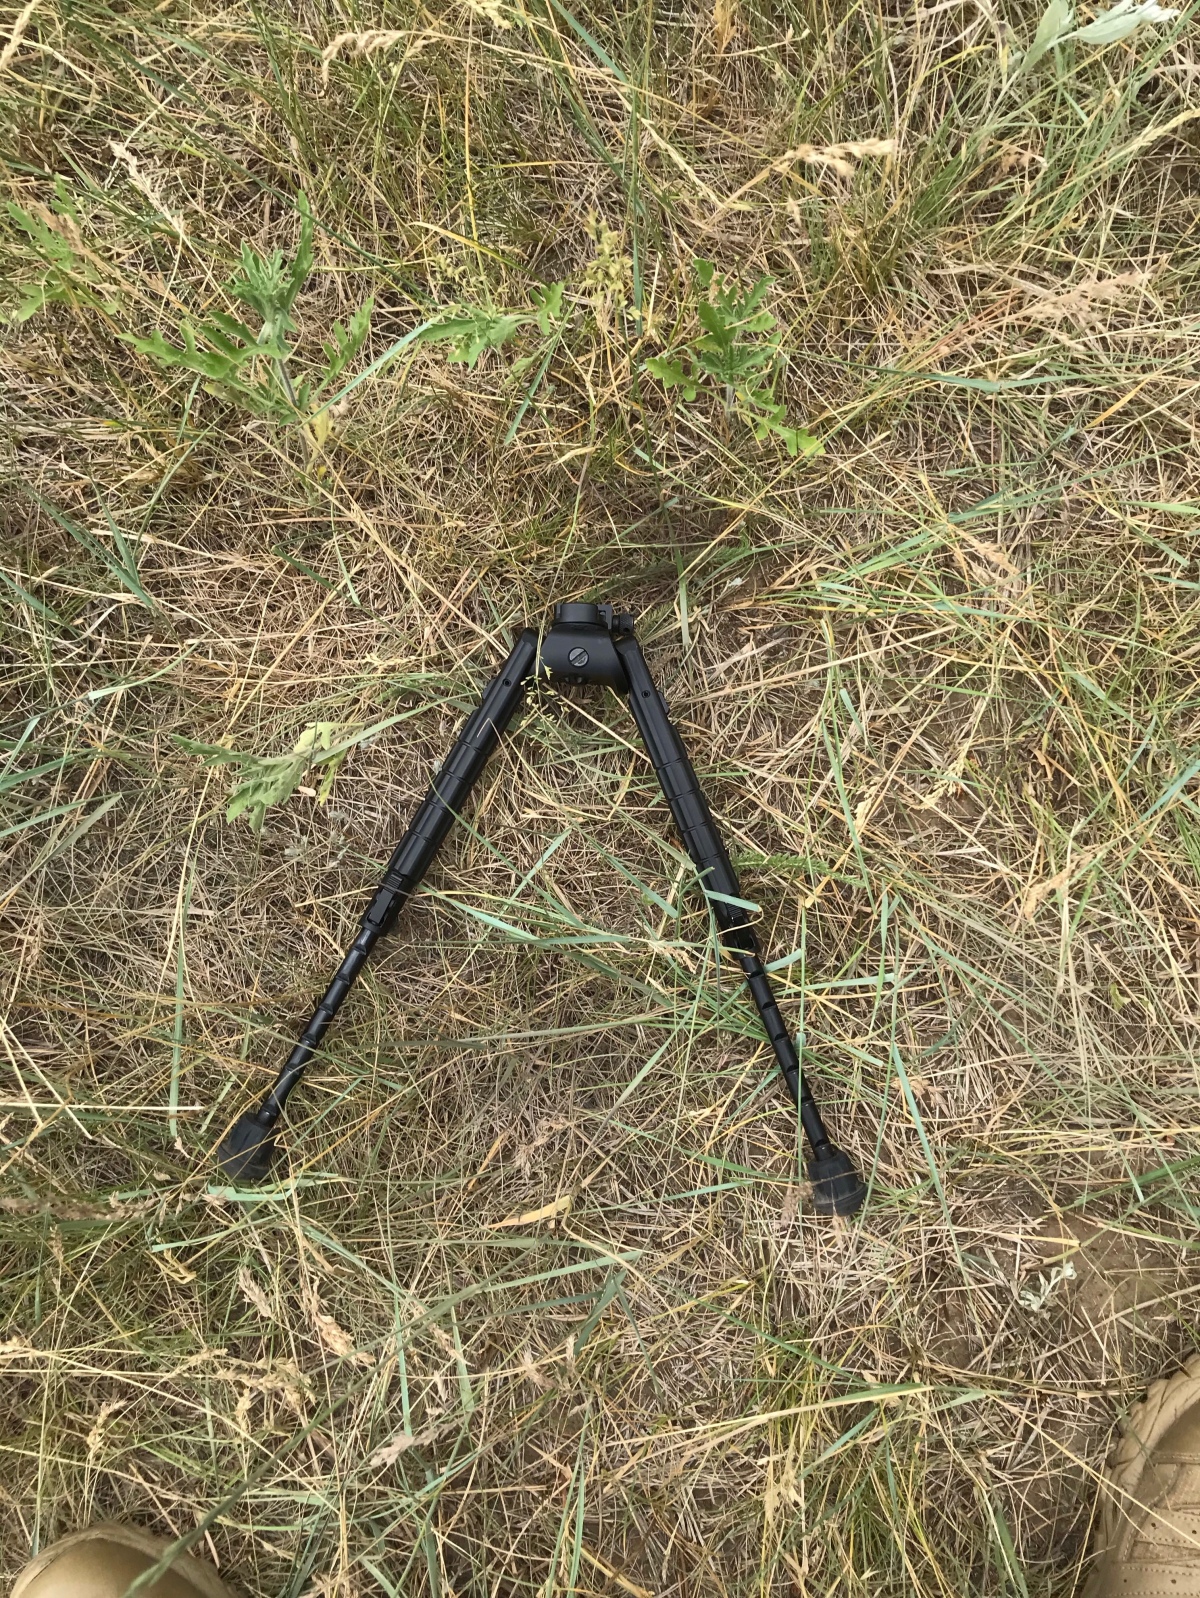
Next I hung the items to dry while I touched up some camo on my equipment. I have been testing a bipod for about a year and am satisfied with it, so I decided to paint it to blend in better. I like to do my camo preparation in the field as opposed to sitting at home because it allows me to fine tune it better.


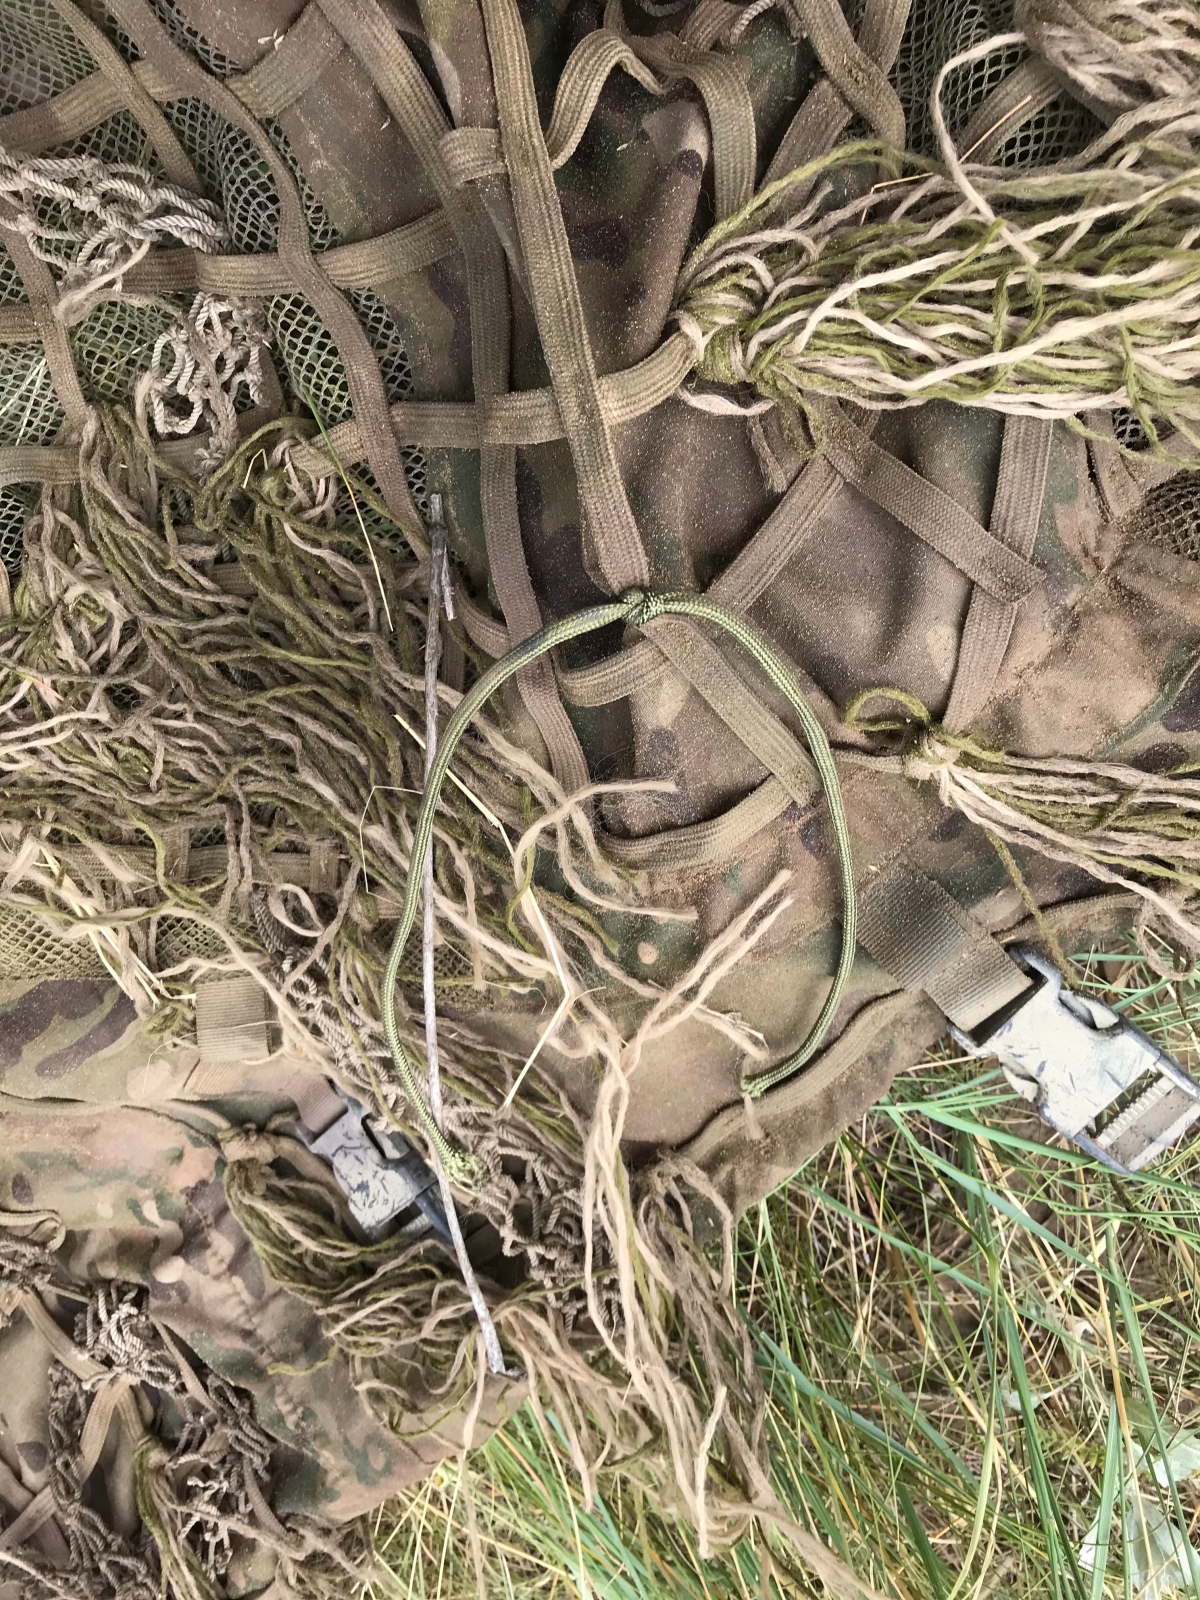
Once I was done with the bipod I went back to the hood and cape. I cut one foot sections of gutted paracord and tied them on, focusing on the head and shoulders and randomly down the back. This is for the attachment of local, natural vegetation. This is what really makes a ghillie work great.
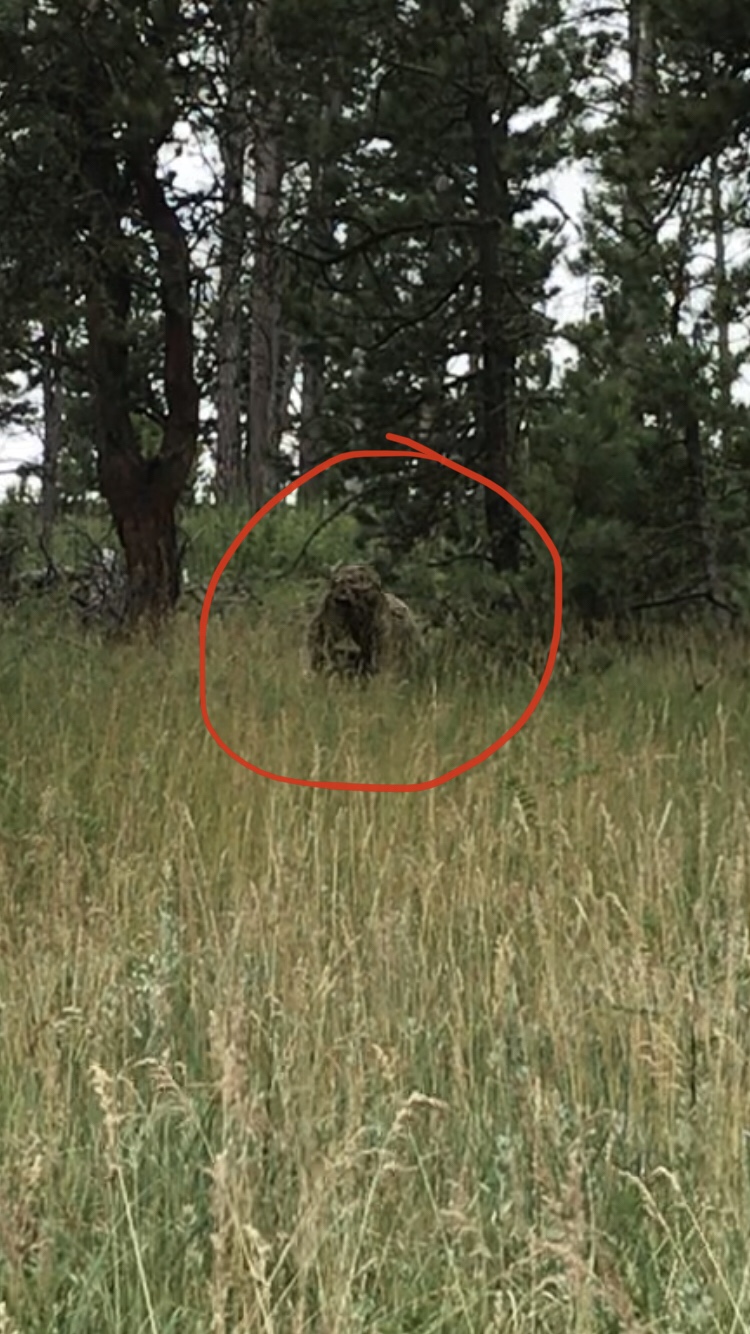
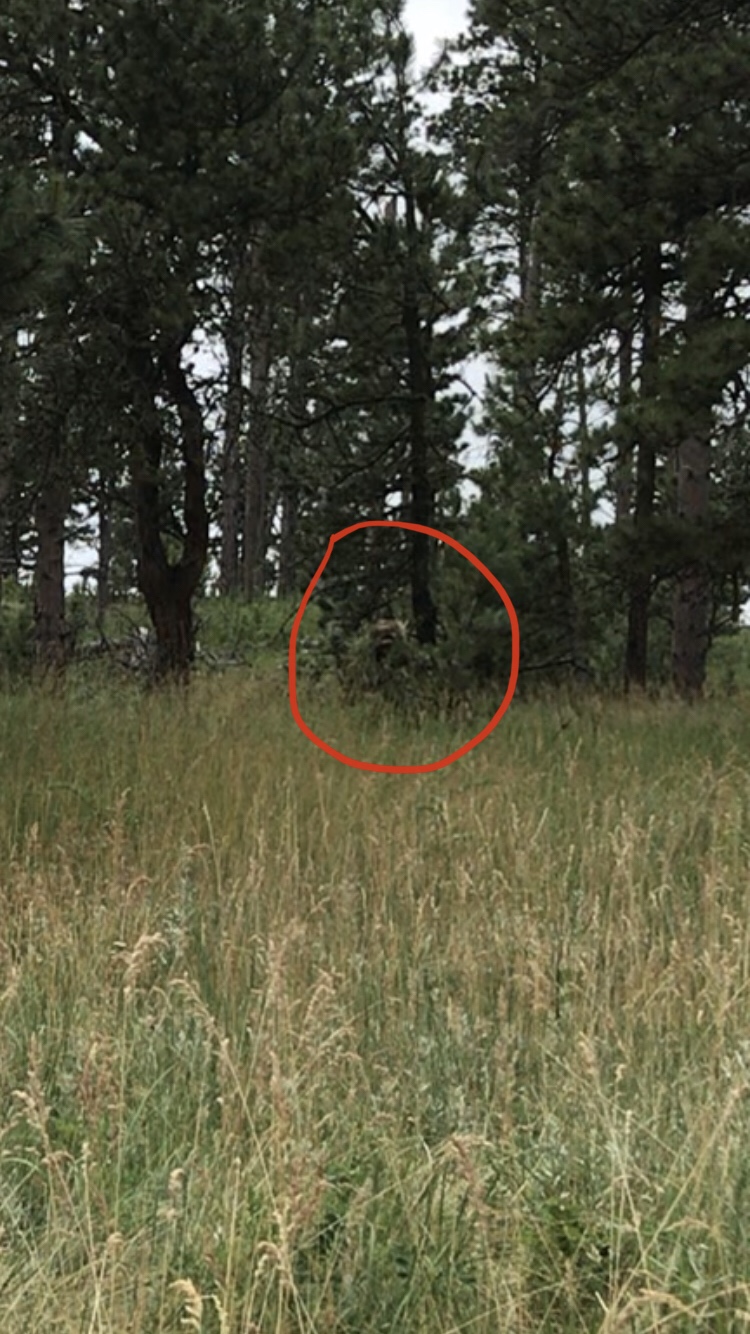
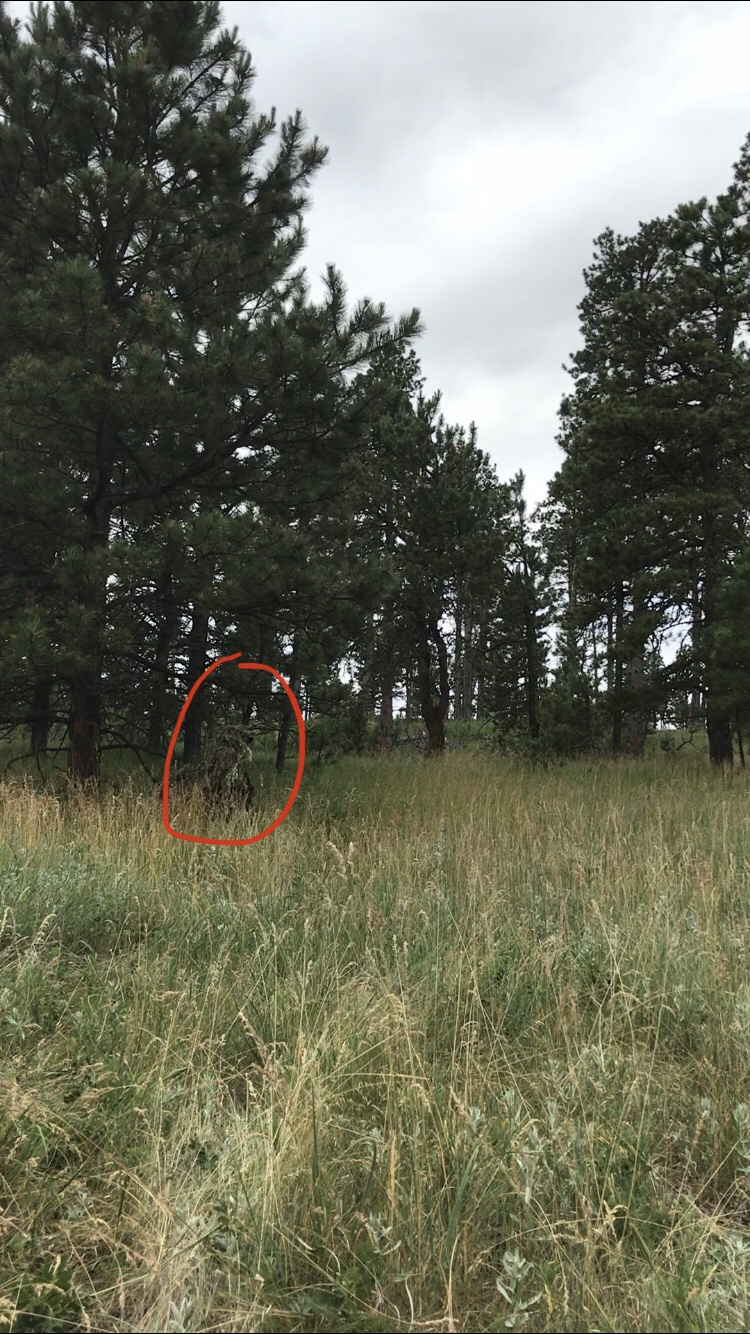
Once this was done, it was time to test it out. Since I was by myself I resorted to using the camera on my phone to video me walking and crawling a 15×50 yard lane to my front, then analyzing the footage. I did this first without vegetation attached and noticed I needed a bit more break up on my head and shoulders so I added a few clumps of thread and rechecked, this time it was good.


I had a lot of fun doing this project, and I now have a practical camouflage system that is compact and lightweight but effective.
For questions or comments, please contact me at [email protected] or post a comment over at badlandsfieldcraft.wordpress.com
Share This Story, Choose Your Platform!

About the Author: NC Scout
4 Comments
Comments are closed.


Howitzer Clothing – Code AP15 for 15% OFF


CIVIL DEFENSE MANUAL – FREE SHIPPING


GUNS N GEAR


Thanks for the detailed write-up! Solid!
This is pure goodness…
5
Great article, very informative. Thank you for the detailed explanation as to how you perfected your suit/cape.