
Badlands Fieldcraft: Adding a bow drill socket to my belt knife handle
Originally appeared on Badlands Fieldcraft. -NCS
I consider the belt knife to be one of the most important tools you can carry in the bush, if not the most important. With it you can create items for every other need you may have. One of these needs is fire, and some knives are more capable than others, that’s why I carry what I carry.
The other day I decided I wanted to add another capability to my belt knife. I wanted to add a bow drill socket. Bow drill sets consist of five parts; the hearth board, spindle, bearing block, bow and string. The bearing block is pushed downward while the bow spins the spindle into the hearth board, creating friction and dust. This friction produces heat that then is transferred to the dust, causing it to ignite.
It’s this friction that we want to control, ensuring most of the friction is on the bottom of the spindle where it should be, and not being wasted in the bearing block.
When we construct a bow drill set off the landscape, we try to use items for the bearing block that are more resistant to the friction created by the spindle. Rocks, bones, antlers, fat wood, or other hard woods can all work. This of course means you either are carrying these items with you, or plan on scavenging them. For the role that bow drill serves for me, neither of these options is sufficient. Bow drill fire is an emergency skill that I want to have the capability to do in an emergency, not something I plan to do.
Since I bring other fire starting tools with me, I don’t want to waste extra weight and space bringing bow drill equipment with me. And since it’s a skill I only plan on using in an emergency, it doesn’t make sense to wait and hope to find everything I need.
What I can do though is utilize what I’m already carrying. The two hardest components of a bow drill set to create off the landscape are the string and the bearing block. I’m already carrying cordage in multiple ways, including 3 feet of bank line wrapped around my sheath to use for a bow drill. So I decided why not add a socket to my knife handle so I can use my knife as a bearing block?
With the cordage and bearing block taken care of, now all that’s left is to find a suitable stick for a bow, and a suitable piece of wood to carve a hearth board and spindle from.
I decided to make a socket, I would create a bowl shaped hollow in my knife handle then line it with a sheet of brass. I decided to use brass because it’s very slick when polished and easy to form.
Since I have a lot of spent rifle brass I decided that’s where I would get my brass from. I grabbed a piece of .308 brass and used a hack saw to cut off the neck and case head.

This left a brass tube, that I then used a set of tin snips to split lengthwise.

I then unrolled the tube. I didn’t worry about making it completely flat, since I was trying to avoid over working the brass. I marked a circle in the center of my brass that was about an 1/8” bigger in diameter than the bit I would use to create the hollow in my handle. I then used my snips to trim around the circle I drew, creating a round piece of brass.

I then took a piece of 1×4 pine, and a couple bolts with acorn nuts to begin pounding this flat round shape into a bowl. I used the bolts as rounded punches to work the brass into a round shape. When doing this you have to keep the brass from trying to fold over, and just keep working it in a circular fashion. To create my little brass bowl took me about 4 hours.

I eventually ended up with a bowl shaped piece of brass about 1/2” in diameter and about 3/8” deep.

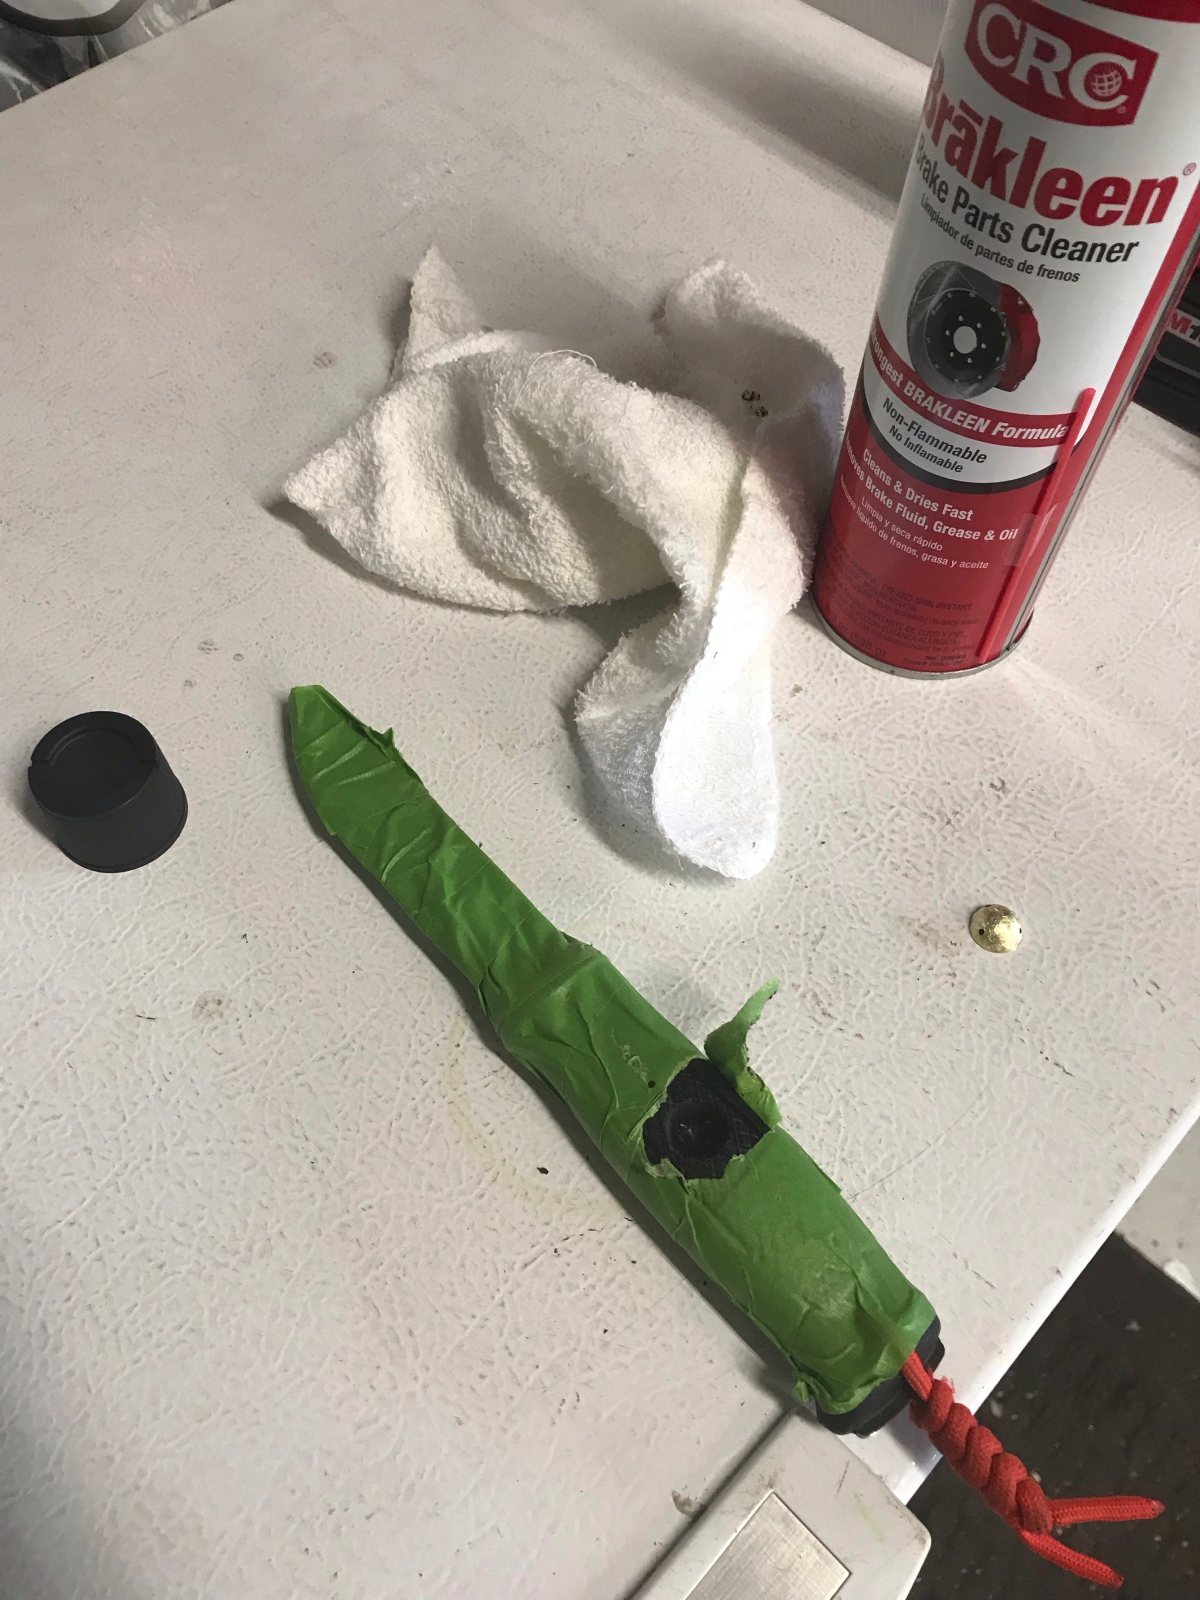
Next it was time to make the hollow in my handle. I wrapped my knife in masking tape to protect myself from the blade and give me a place to put markings. There’s a diamond shape molded in the grip that was nicely centered in the handle, making it an ideal place for the socket. I marked it with a marker, then created a small pilot hole with a 3/16” bit. This would help keep the larger bit centered.

After I drilled the pilot hole, I switched to a router cove bit to create the actual hollow in the handle.
I used gentle pressure to create the hollow, then cleaned up the edges with a utility knife. When I felt the hollow was the right depth, about 1/4”, I started dry fitting the brass bowl. I had to hammer it in a few spots to get it to fit just right.
Once I was satisfied with how it was fitting, it was time to remove the extra brass sticking up. I used a large metal file for this, just laying the file flat and running the brass bowl down the file until I removed enough metal so that it fit flush with the handle.
Once everything was fitting good, it was time to prepare the epoxy. I grabbed a 1/16” bit and gently drilled three holes evenly spaced just inside the lip of the bowl. These holes were for epoxy to squeeze out of to create a mechanical lock. Since the spindle should only be riding in the bottom of the bowl, these shouldn’t be in the way.
I then took an 1/8” drill bit and put a few divots on the inside of the hollow for epoxy to lock onto as well. I also sanded the back side of the bowl so it was a more rough surface for the epoxy to grab.

I was almost ready to add the epoxy, but I had to degrease everything first. I just used a clean rag and some brake cleaner to wipe everything down.
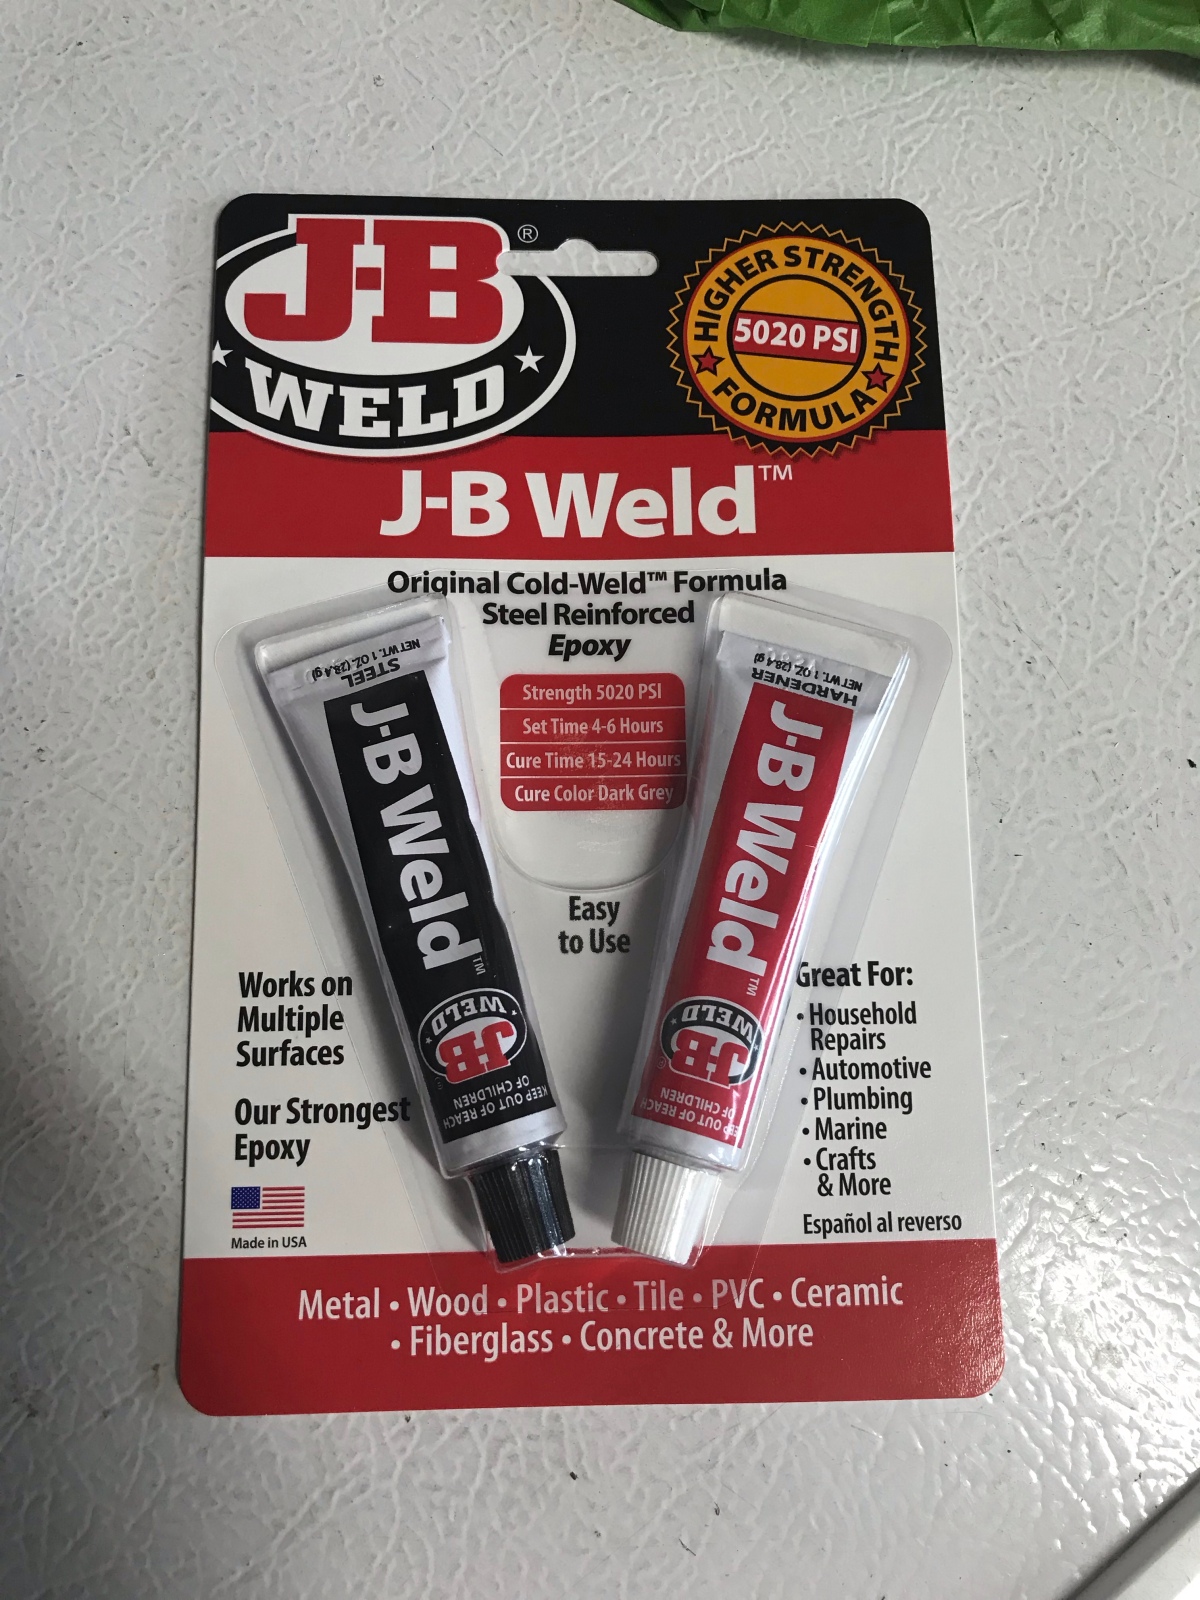
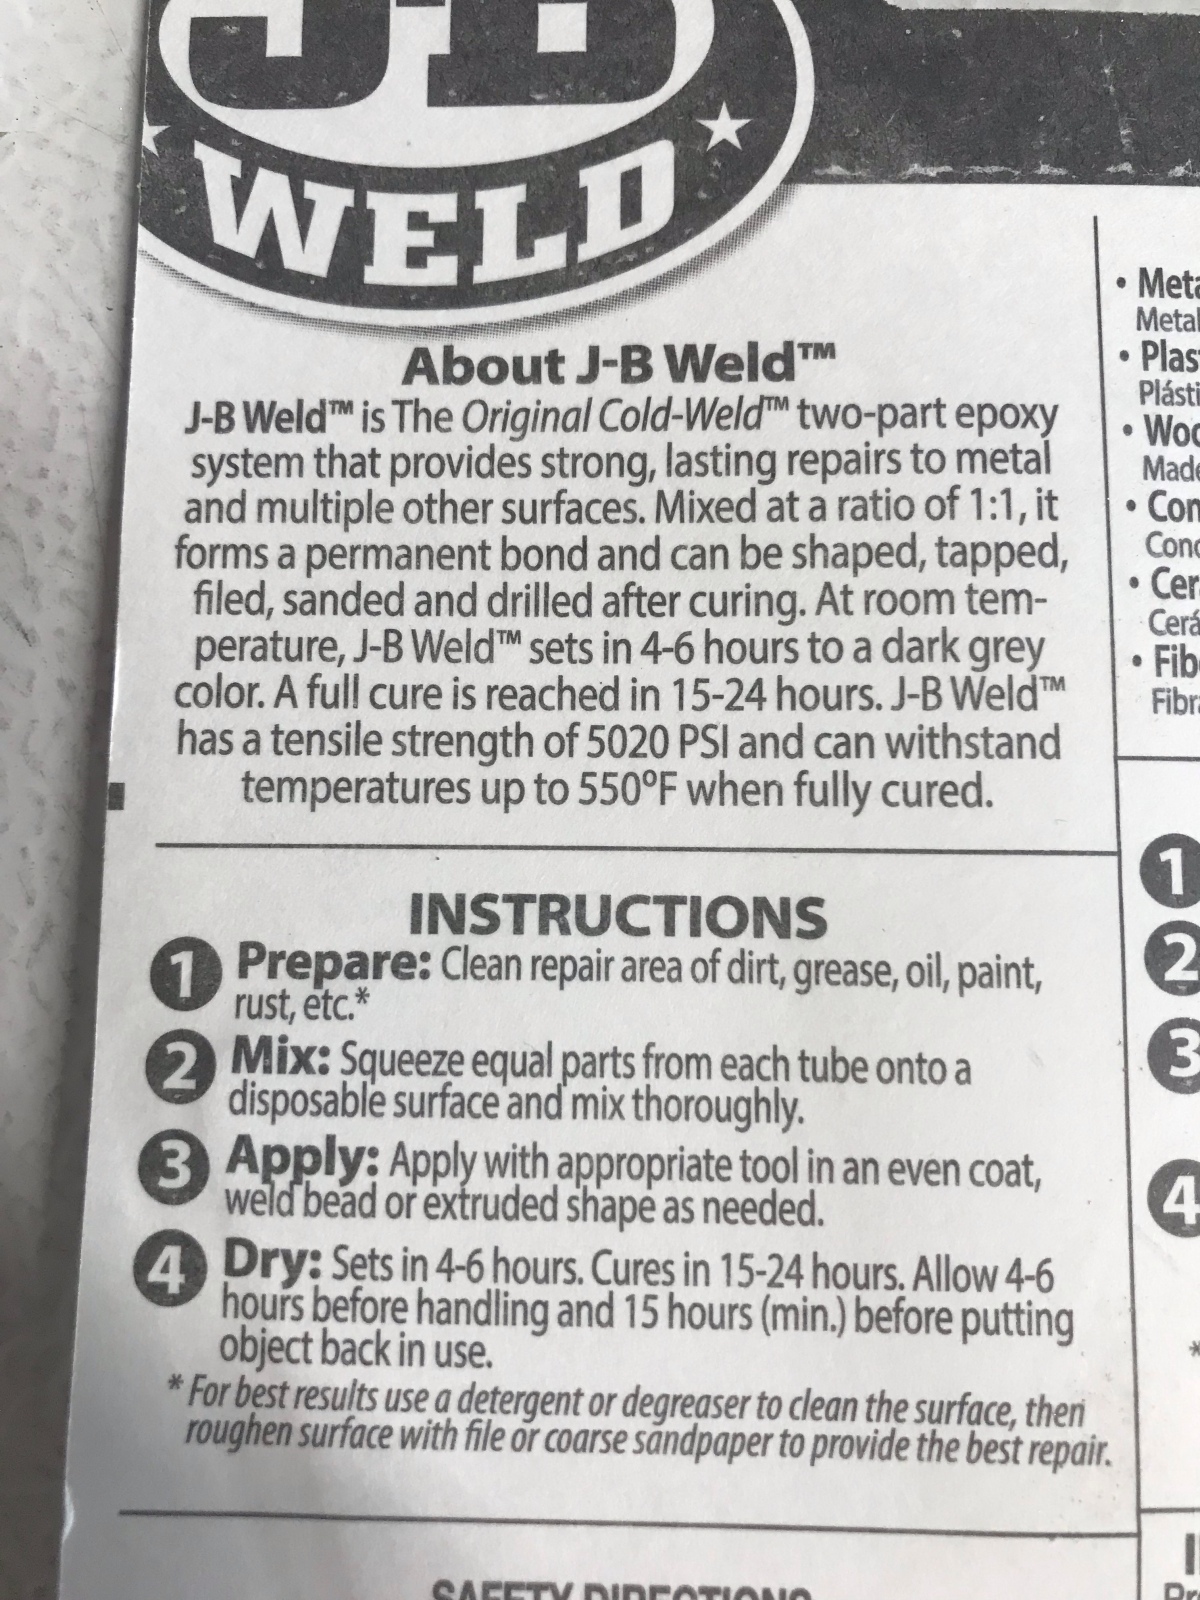
I chose to use some heavier duty JB Weld for the epoxy. It was the strongest and most temperature resistant I could find.
I mixed up the epoxy and used a toothpick to push it into all the divots I made in the handle. Then I lightly coated the rest of the hollow. I pushed the bowl into the hollow and used equal pressure on all sides to work it in. I got good squeeze out of the holes in the bowl and just a little around the edges, a perfect fit. I left this to cure for the next 24 hours.

The next day after the epoxy cured I got the Dremel out to finish up. I keep a few used sanding drums for minor sanding, so I put one of these on and chamfered the inside edge of the bowl.

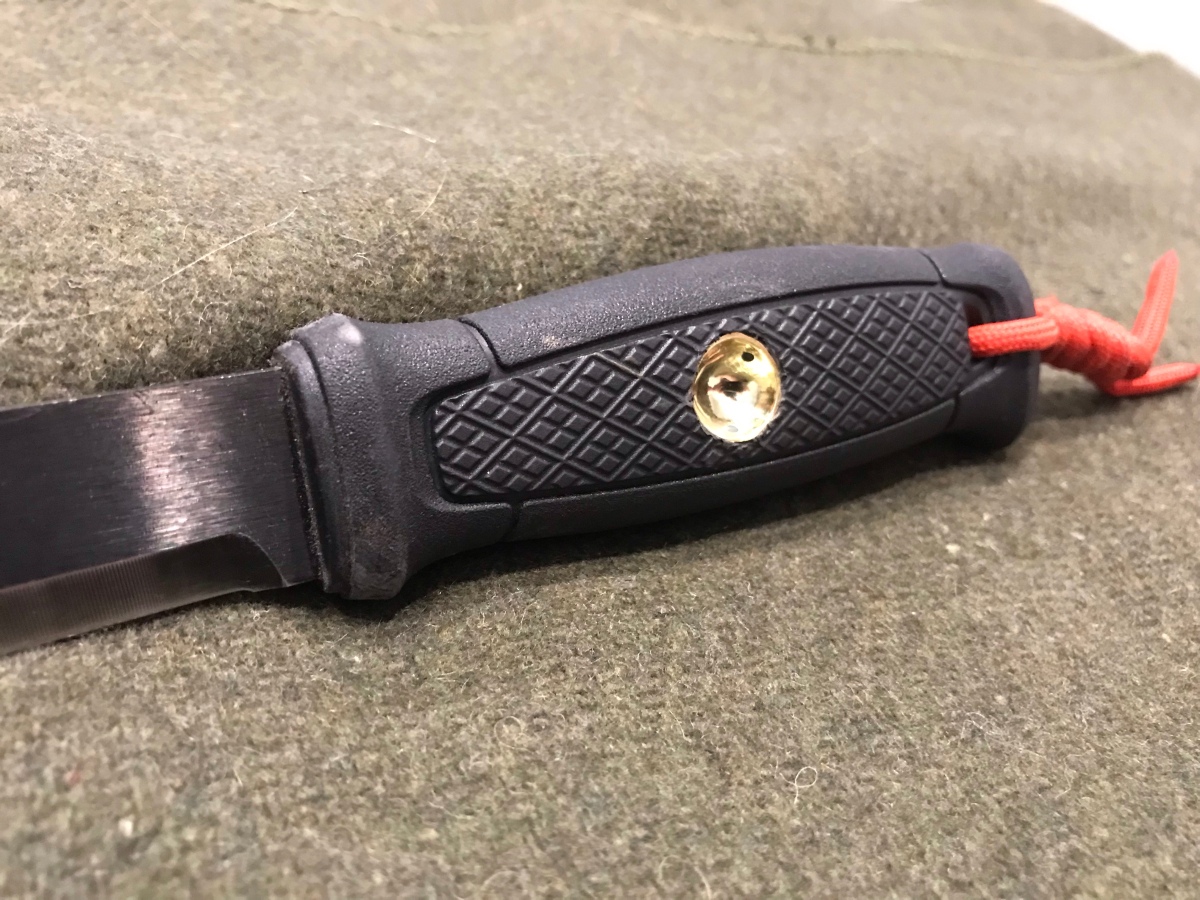
I then used a polishing tip and some compound to finish polishing the socket.
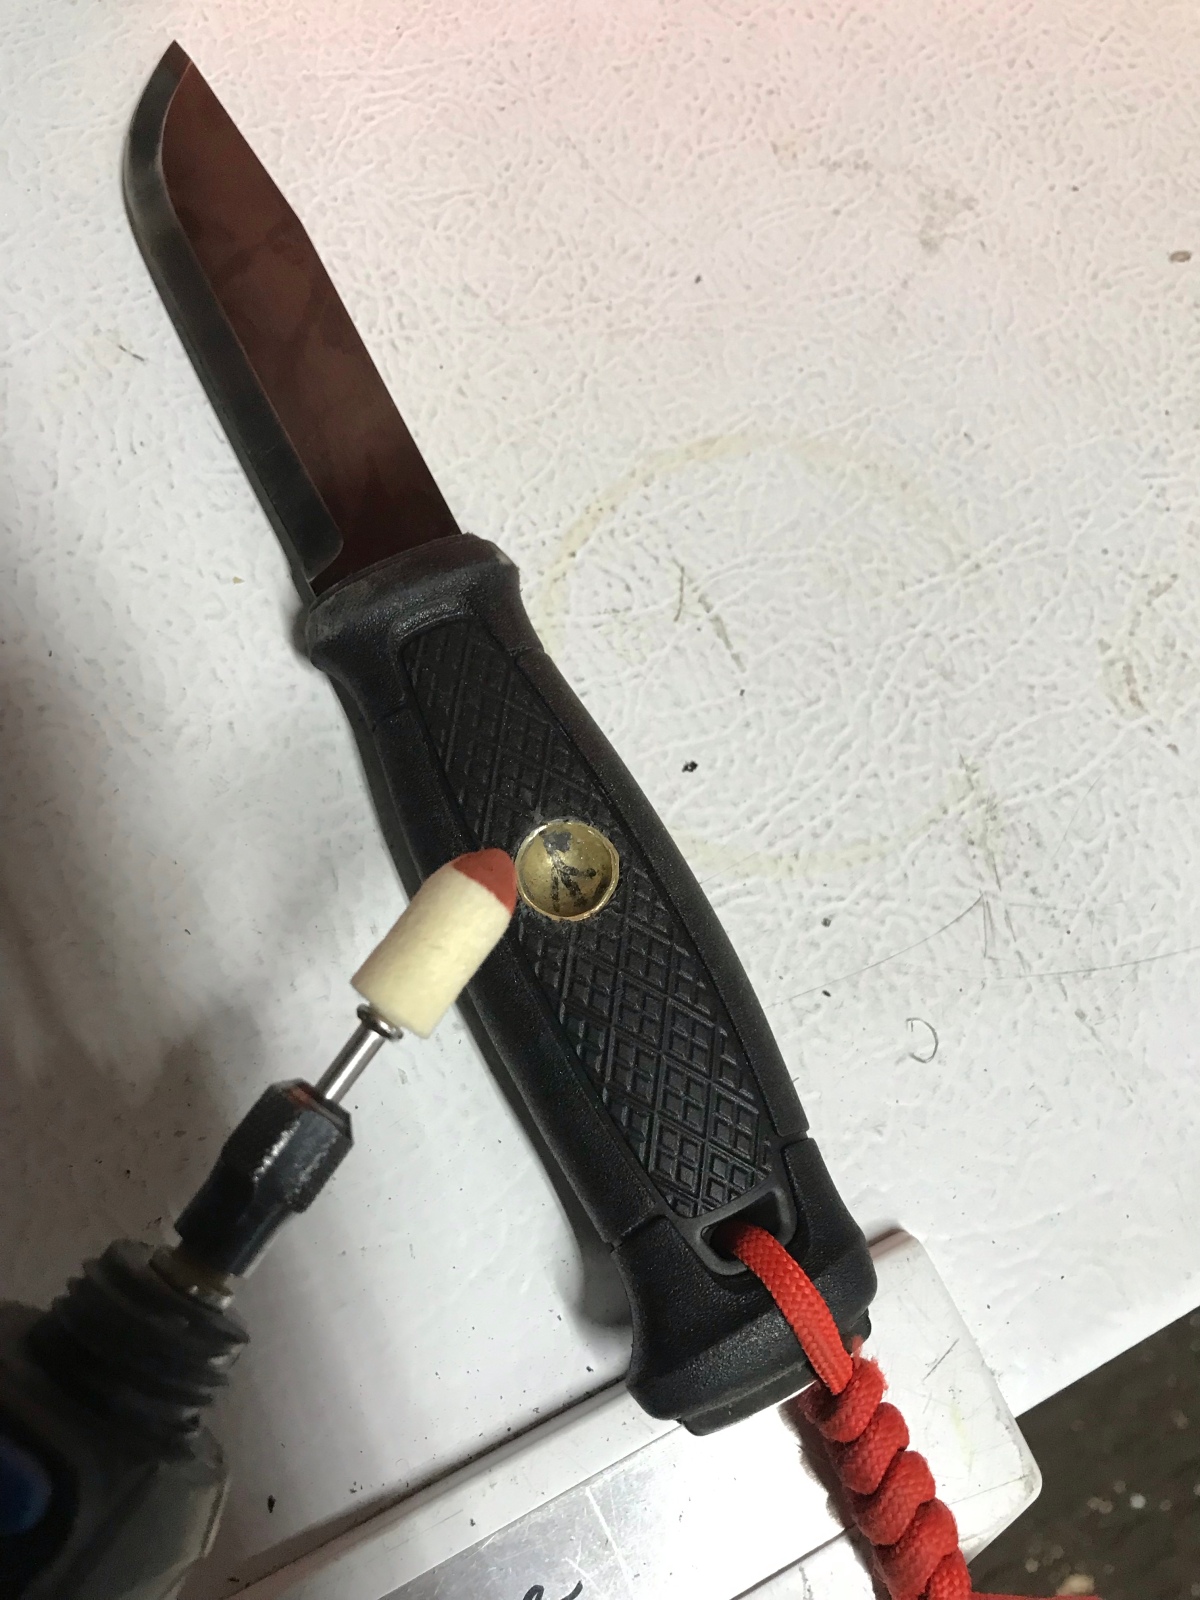
This completed my project. I’m really happy with how it turned out. I’m sure there are easier ways to do this, but I had fun creating it from a piece of spent rifle brass by hand.
Share This Story, Choose Your Platform!

About the Author: NC Scout
2 Comments
Comments are closed.

Related Posts


GUNS N GEAR


Neat idea. I wonder if instead of using old cartridge brass, you could do the same with a worked over brass acorn nut. Just a thought.
Just brilliant.